


Saturday, October 23, 2010
Thursday, October 21, 2010
A Pillow Box - Autumn Splendor! Color Challenge
Weekly Challenge #3: AUTUMN SPLENDOR! Color Challenge


Materials used:
Cricut Expression
Gypsy
Tags, Bags, Boxes and More
French Manor
AC Cardstock - Autumn Collection
Basic Grey - Ambrosia Collection
Recollections cardstock
Ranger Distress Ink - Walnut
Sequins - Orange/coppery
Beads - Orange/yellowish
Instructions:
Pillow Box cut at 9.71"
Eiffel Tower cut at 5.06"
Label cut three times using hide contour at .59" outer and inner part and third one at .63" outer only.
Key hole cut at 1.25"
For half circles I used the layer for the ciao word and drag it to the edge of the mat so I would not waste paper~ cut at 3" (raised it from the mat a tap to cut it a bit bigger with tan cardstock).
I inked everything.

I created my first Pillow Box
It is 8" tall

It was a bit hard to combine colors outside of my comfort zone, but I think I did pretty good!
The colors are grey, orange, tan and burgundy. And I kept true to them!


Cricut Expression
Gypsy
Tags, Bags, Boxes and More
French Manor
AC Cardstock - Autumn Collection
Basic Grey - Ambrosia Collection
Recollections cardstock
Ranger Distress Ink - Walnut
Sequins - Orange/coppery
Beads - Orange/yellowish
Instructions:
Pillow Box cut at 9.71"
Eiffel Tower cut at 5.06"
Label cut three times using hide contour at .59" outer and inner part and third one at .63" outer only.
Key hole cut at 1.25"
For half circles I used the layer for the ciao word and drag it to the edge of the mat so I would not waste paper~ cut at 3" (raised it from the mat a tap to cut it a bit bigger with tan cardstock).
I inked everything.
Thanks for stopping by my blog!!
A Book Mark for Emma's Throwback Thursdays
I created this book mark for my DH
He is known for using a piece of toilet paper as a book mark
... poor guy~ considering I am a librarian!
Anyway, I had seen a tutorial at splitcoaststampers for one,
but it was a bit girly with flowers and ribbon, etc.
and when I saw Emma posting on Facebook that the theme
was Sports using Sports Mania or something else, I immediately
thought I had to create something golf since DH is a true golf afficionado
and a huge fan of Ben Hogan!


Please note that this is a small book and a rather large corner bookmark.
I cut base at 4"x4" ~ you can make smaller.
Materials Used:
Cricut Sports Mania cartridge~pg 78
Gypsy~ cut at 2.65"h
Core'diantions card stock
White card stock
Hemp
golf embellishment
Thanks for visiting!
for an opportunity to win a EK XLg Le Bat Flourish Punch
Wednesday, October 20, 2010
A Purse for Cooking With Cricut
For this week I created a Purse or Treat Purse!
Using one Melin's amazing designs!!


Instructions and Materials Used:
For Purse Base
Cut purse at 11 3/4" on 12"x24" mat
from Cricut Tags, Bags, Boxes & More
Cricut Black 12"x24" Card stock
For Purse Print Paper
Trace and hand cut front lower part of purse
and front top of purse
used K&Co Spooktacular Stack
Signo black pen for faux stitching
Matching ribbon from Michael's
Orange rose - Recollections
Tag
DCWV Mignight Spell Stack
Tim Holtz ball chain
Cat Carving Pumpkin
CookingWithCricut Melin's file
cut with Pazzles Inspiration
Inked everything with
Ranger Distress Ink - Antique Linen
If you like what you see, leave a comment!
and go see what the other DT Members cooked!!
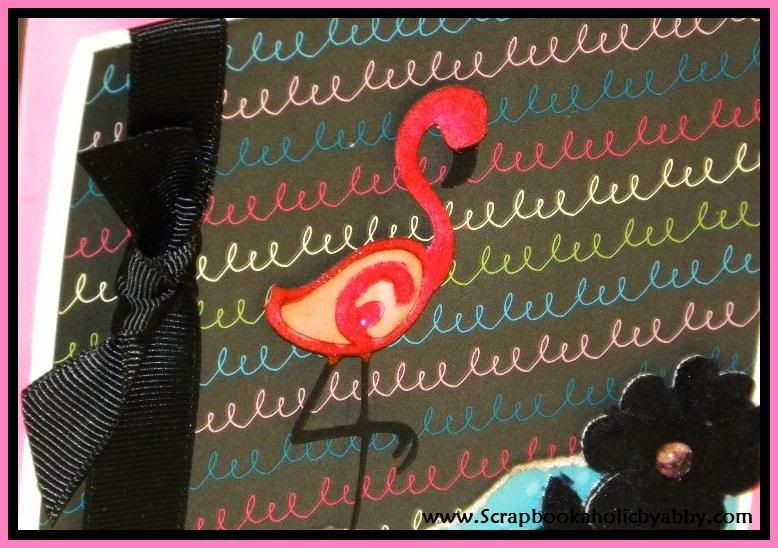
A Card for Playing with Serenade - Flowerdisco and Friends #6
Today I have Image #38 from the Serenade Cricut Cartridge
I created this card with the Breast Cancer October Celebration in mind!


As you can see, it's a double sided card.
Check the Dia De Los Muertos Blog Hop Line-up
just to your right - top right!!!
just to your right - top right!!!


The bird image was mirrored and than welded~
The wings and its layer were both mirrored before cutting two~
The ribbon is from Cindy Loo- mirrored and cut twice~
Materials Used:
Core'diantions Heartfelt for bird- distressed/sanded
DCWV Pink3 for wing
Making Memories/Slice Think Pink Multi Pack for wing layer
Core Couture/Core'dinations Stiletto for ribbon
Tim Holtz sanding tool
Tim Holtz sanding tool
ek label punch
Stampology Journaling
Ranger Distress Ink Tattered Rose
Stickles Cotton Candy
Hope you enjoyed!!
Thanks for visiting!!
Now go see what the other ladies created!


A Purse for Momo's Challenge
Momo has a challenge twice a month, and this month is anything except a card!
So I created this cute little purse!


You can see here what I used to create this in addition to a 12"x12" piece of patterned paper and the Cricut Tabs, Bags, Boxes & More cartridge.

Here you can see the difference between cutting the same image/design on a 12"x12" vs a 12"x24" piece of card stock.
The small purse will accomodate three 3"x3" cards and the larger one will acommodate 3 A2 size cards.
You can get away with a little bit larger purse either size if you use your Gypsy vs just using the fit to page feature.
If you like what you see, leave a comment.
Monday, October 18, 2010
DIA DE LOS MUERTOS BLOG HOP!!
Hola Friends, Followers, Visitors!
My BFF and I will be hosting our very own and first
Dia de los Muertos/Day of the Death Blog Hop!!
This coming Nov. 1st and 2nd!!
All of the Ladies joining us are very talented and FAMOUS!
You will be amazingly surprised!!
You will be amazingly surprised!!
I will provide the line-up very, very soon!
We are going to be the Dazzling Dozen!!!!
We are going to be the Dazzling Dozen!!!!
Keep reading for GIVEAWAYS! (plural)
This is a bit of history about Dia de los Muertos which is celebrated on Nov. 2nd
Day of the Dead (Spanish: Día de los Muertos) is a holiday celebrated in Mexico and other countries. The holiday focuses on gatherings of family and friends to pray for and remember friends and family members who have died. The celebration occurs on November 2. Traditions connected with the holiday include building private altars honoring the deceased using sugar skulls, marigolds, and the favorite foods and beverages of the departed and visiting graves with these as gifts.
The Day of the Dead is a time of celebration. (http://www.wikipedia.org/)


Aren't the colors and decorations festive?
Is a celebration of a beautiful life our loved ones had.
During the Blog Hop there will be lots of Great Giveaways!!!
including a Huge SEI package that includes all the paper and embellishments
of the Monsterville Collection including some chalk ink blocks!!!
of the Monsterville Collection including some chalk ink blocks!!!
I will personally be giving...... I don't know
a $32 Martha Stewart Latest Around the Page Punch Set
or
A PINK ATG
......I'm still thinking!!!
Only two weeks away!!!!
So GRAB MY
DIA DE LOS MUERTOS BUTTON!
Leave me a message/comment stating that you have placed
My Dia de los Muertos Blog Hop Button on your blog
to help my BFF and I advertise!
and I will give away
an EK PUNCH!
that is a Large Edger Punch - PSN LE BAT FLOURISH
on Oct 31st!!!!!!!!
Yes, I have a lot of lives to celebrate!!!!
All four Grandparents and My Parents!!

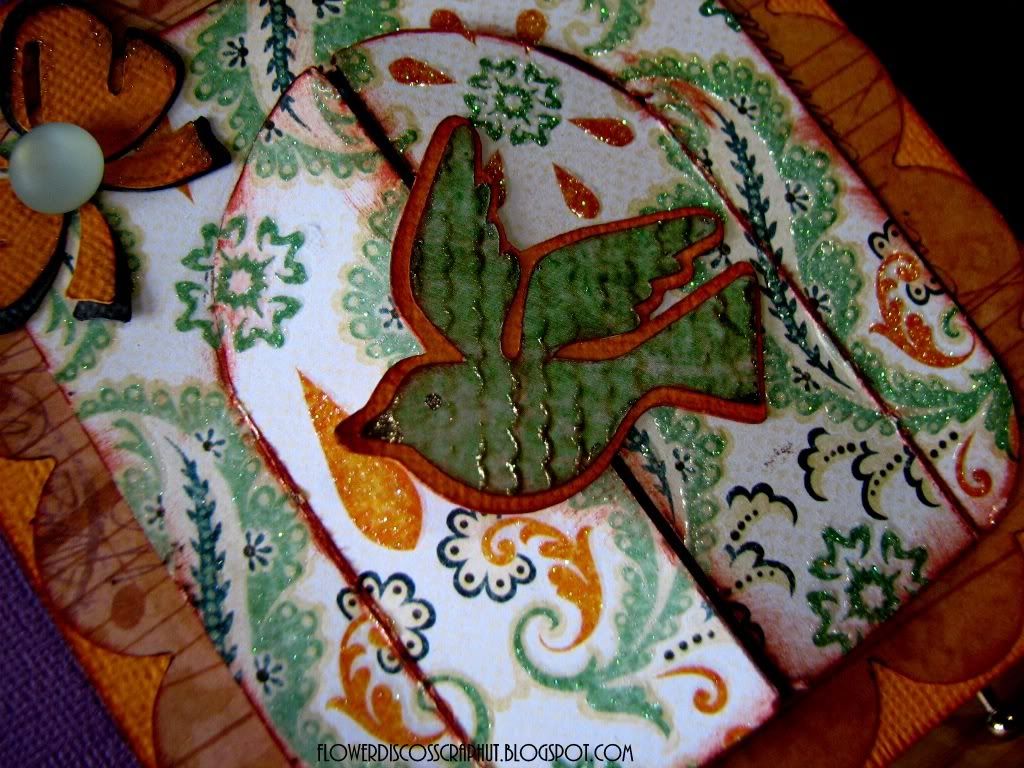
Gaby Abby Challenges with SEI Week 3
Welcome to another Gaby Abby Challenges sponsored by SEI
This week the Challenge is Monsters!!
create anything with a monster, cute and scary monsters welcomed!
create anything with a monster, cute and scary monsters welcomed!
I created this treat bag with a white lunch bag.


Used just a regular white lunch bag
purchased at Walmart for around $2 a pack of 50

Cut bag at 5 3/4" h

Cut DCWV black card stock at 5 1/2" w x 6" h
(bag is 5 1/4" w)
You can cut any measurement that you like and go from there.
[for the back of the bag I only used the black card stock, I did not decorate- your choice!]
[for the back of the bag I only used the black card stock, I did not decorate- your choice!]
Cut Core'dinations meadow (green) card stock at 5 1/4" w x 5 3/4" h
Cut SEI Monsterville Susie Street 8-4705 at 5" w x 5 1/2"
double sided- and used stripes side
card stock using my new Janome Mini
(NOTE: I have not used a sewing machine in 20 years-- I still have my Singer, the one I used to sew baby clothes for my now 29 year old daughter!- I got into grad school, crocheting and cross stitching!-- so with no practice at all I was able to thread it and start sewing! BIG mistake!! -- you can see that my stitches are two tight and crooked!! I should have practiced!!!!)

To decorate I cut a strip of 1 1/2" h strip of black card stock, the meadow card stock cut at 1 1/4" h and the SEI Monsterville Susie Street 8-4705 dots side at 1" h and sew together
Do not judge me by my sewing!!! lol
The embellishments or monster, balloon and butterflies were cut by my DH from the (he loves to be part of it!)
SEI Monsterville Flying Circus 8-4704


Thanks for visiting!!!
Now go visit my BFF and see what she created!
Your comments are welcomed and appreciated!
Come back and link your project to Mr. Linky
and remember, you only need to link here or at Abby's
we can both see the same entries (we have the same link).
And make sure you link your project to
gabycreates.com or Abby's blog.
And make sure you link your project to
gabycreates.com or Abby's blog.
Subscribe to:
Posts (Atom)


