


Scrap'n Easel
Part I
a. box contents
b. setting your Scrap'n Easel
note: you may click on the top of any picture to enlarge for a better view

Box Contents
After you open your box take out your Scrap'n Easel, two (2) clear Grids, one (1) magnetic Ruler, one clear bag containing 16 super strong Neodymium Magnets, one clear bag containing Velcro Dots and your Instructions.

Scrap'n Easel in the open position
Move your two clear Grids, magnetic Ruler, Magnets, Velcro Dots and your Instructions to the side and open up your Scrap'n Easel.

Inserting the clear Grids
At this time you are ready to take your included clear Grids and insert them on the provided clear tabs on each/all corners on both panels of you Scrap'n Easel
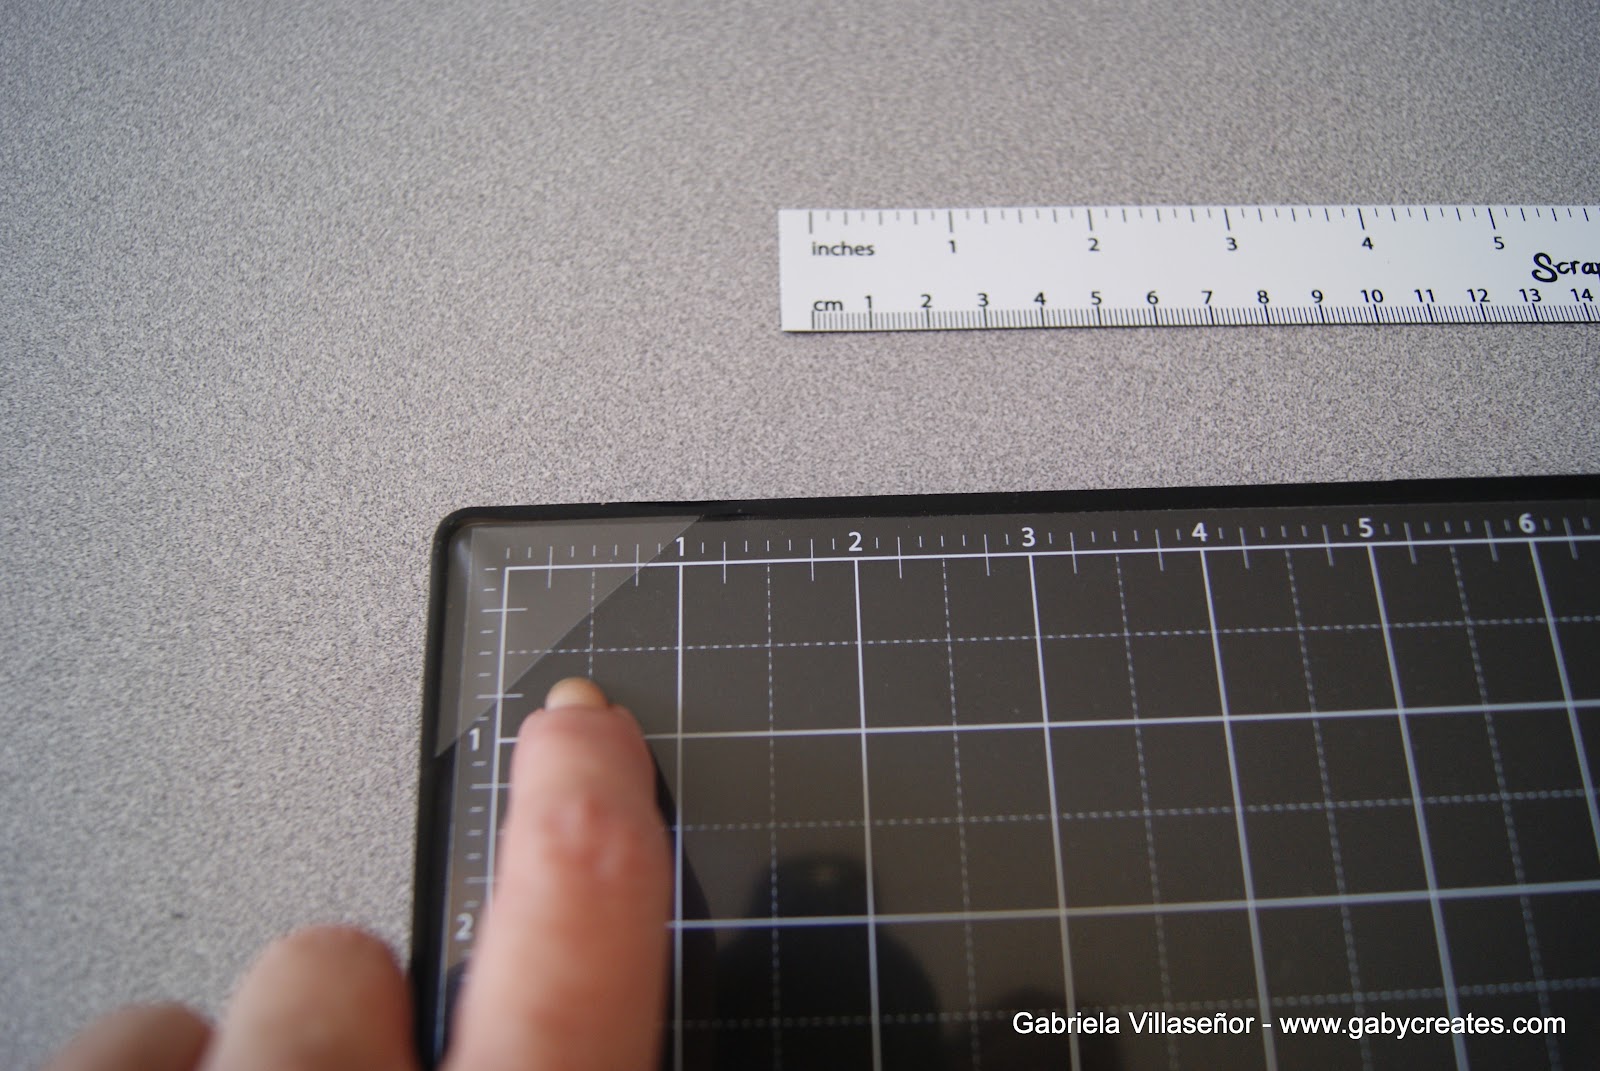
It is a very easy process. Just guide the Grids with you fingers.

This is what it looks like after both Grids have been placed in the corner tabs.
You are ready to work on it if you wish.
But there are a few more steps to setting it all up and looking at all the options you have.
Setting your Scrap'n Easel for the "Display" position

Close you Scrap'n Easel and place towards you the thicker part-- it is very noticeable.

Lift the Scrap'n Easel flap and push to attached (thicker) insert toward the bottom.

You may want to use a little bit of force here or use both hands to pull/push (depending on your body's position in relation to the Scrap'n Easel)-- it will not hurt it, promise!

Top view of one side/flap of the Scrap'n Easel open.

Top view of both sides/flaps of the Scrap'n Easel open.

This is a back view of your Scrap'n Easel in the Display position.

This is a front view of your Scrap'n Easel in the Display position.
Setting up your Scrap'n Easel for the "Work" position.

All you do is invert your Scrap'n Easel!

Yes, that easy. Flip over/invert and place on your table.
Now when you are ready to put it away you may close it down by releasing the adhered flaps and folding it. In your package you receive a Velcro dot that you may use (I chose not to use it on mine) to secure it.

Adhere your Velcro Dot to the Tab Closure and to the opposite side of the back of your Srap'n Easel.
I hope this helped you set your Scrap'n Easel up. Please come back to see Part II.
I will be showing you how I created a layout with the help of my Scrap'n Easel.
(this is where the magnetic ruler and magnets come in handy)
Part II
Creating a layout using your Scrap'n Easel


Here (above) you can see that my white paper sits right on the 1/2" and the 11 1/2" marks (sides and bottom) and that I am securing it using 4 of the Magnets.


Step Five: For this step I want to place/line up a piece of "notebook" paper across. Once again, using the magnetic Ruler I was able to accomplish that.


Step Seven: Here the magnetic Ruler was used again to guide me in placing my title in a straight line.
Love that!


Step Eight: Now that I am satisfied with the placement I started permanently adhering all my pieces.


Thanks for visiting and I hope this tutorial helps you get the best out of your Scrap'n Easel!


